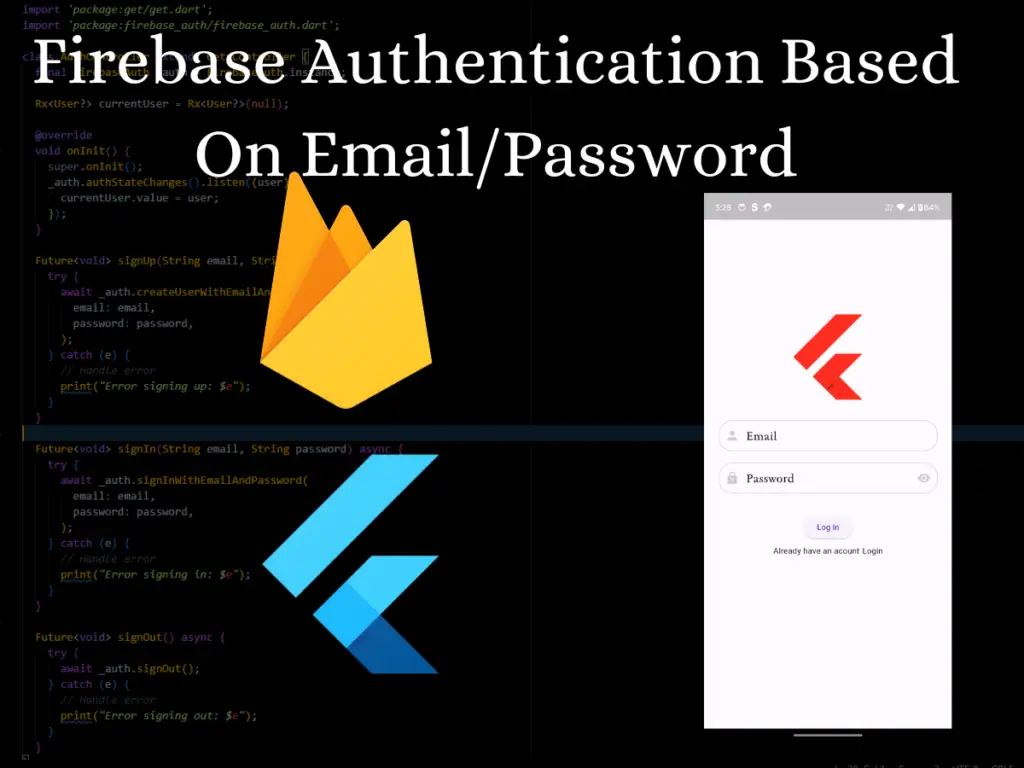
Firebase Authentication Based on Email/password in Flutter
In this tutorial, We learn the process of implementing Firebase Authentication of Email & Password in a Flutter app using the GetX package. GetX is a lightweight and powerful state management library that simplifies code organization and enhances app performance. By the end of this guide, you’ll have a fully functional authentication system integrated with Firebase in your Flutter app. Step 1: Set Up Firebase Project : Before we start, make sure you have a Firebase project set up. If you haven’t done this already, head over to this Integrate Firebase Project in Flutter . Step 2: Add Dependencies : In your Flutter project’s pubspec.yaml file, add the necessary dependencies for Firebase Authentication and GetX: Run flutter pub get to install the dependencies. Step 3: Initialize Firebase In your Flutter app’s main.dart file, initialize Firebase in the main() function: Step 4: Create Authentication Service : Next, create an authentication Controller that will handle all authentication-related tasks. This Controller will use GetX’s reactive state management to notify listeners when the authentication state changes. Step 5: Implement Authentication Screens : Now, create your authentication screens using StatelessWidget . Here’s an example of a signup screen ( I used my custom made TextEditingField() you can use flutter TextFormField() ) : Login Screen : Registration Screen : Conclusion Congratulations! You successfully implemented Firebase Email & Password Authentication with GetX in your Flutter app.
Firebase Authentication Based on Email/password in Flutter Read Post »